Create a Kubernetes Cluster
Unraveling the Power of Cloud Simplicity - DigitalOcean Series - Part 1
Welcome to the inaugural post of my brand-new series dedicated to dissecting and discussing everything DigitalOcean. As a leading cloud infrastructure provider, DigitalOcean offers a plethora of products designed to support your applications, from deployment to scaling. Throughout this series, I'll delve into the nitty-gritty of DigitalOcean's offerings, evaluating their products, pricing, advantages, drawbacks, and comparisons with giants like AWS, GCP, and Azure.
What is DigitalOcean?
DigitalOcean stands out in the crowded cloud service market with its simplicity, performance, and cost-effective pricing models. Catering to developers, startups, and SMBs, DigitalOcean simplifies cloud computing so teams can spend more time building software that changes the world. From simple droplets to complex Kubernetes clusters, DigitalOcean provides an array of services designed to scale with your project's needs.
What is Kubernetes?
Kubernetes, an open-source system for automating deployment, scaling, and management of containerized applications, has revolutionized the way developers deploy and manage applications at scale. Originating from Google's expertise in running production workloads at scale, Kubernetes provides a platform-agnostic framework to run distributed systems resiliently. It handles scaling and failover for your applications, provides deployment patterns, and more.
How to Create a Kubernetes Cluster on DigitalOcean
Creating a Kubernetes cluster on DigitalOcean is a straightforward process that combines the power of Kubernetes with the simplicity and elegance of DigitalOcean's user interface. Here's how you can set up your Kubernetes cluster, step by step:
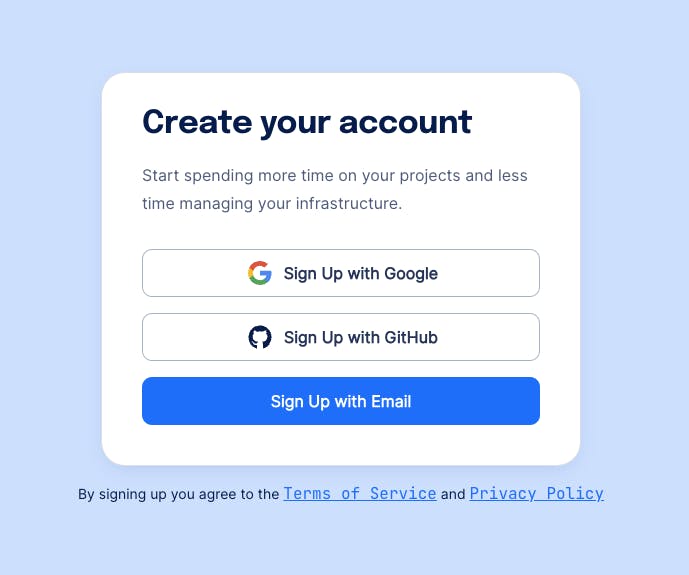
1. Sign up/Login to DigitalOcean
Begin by creating a DigitalOcean account or logging in if you already have one.

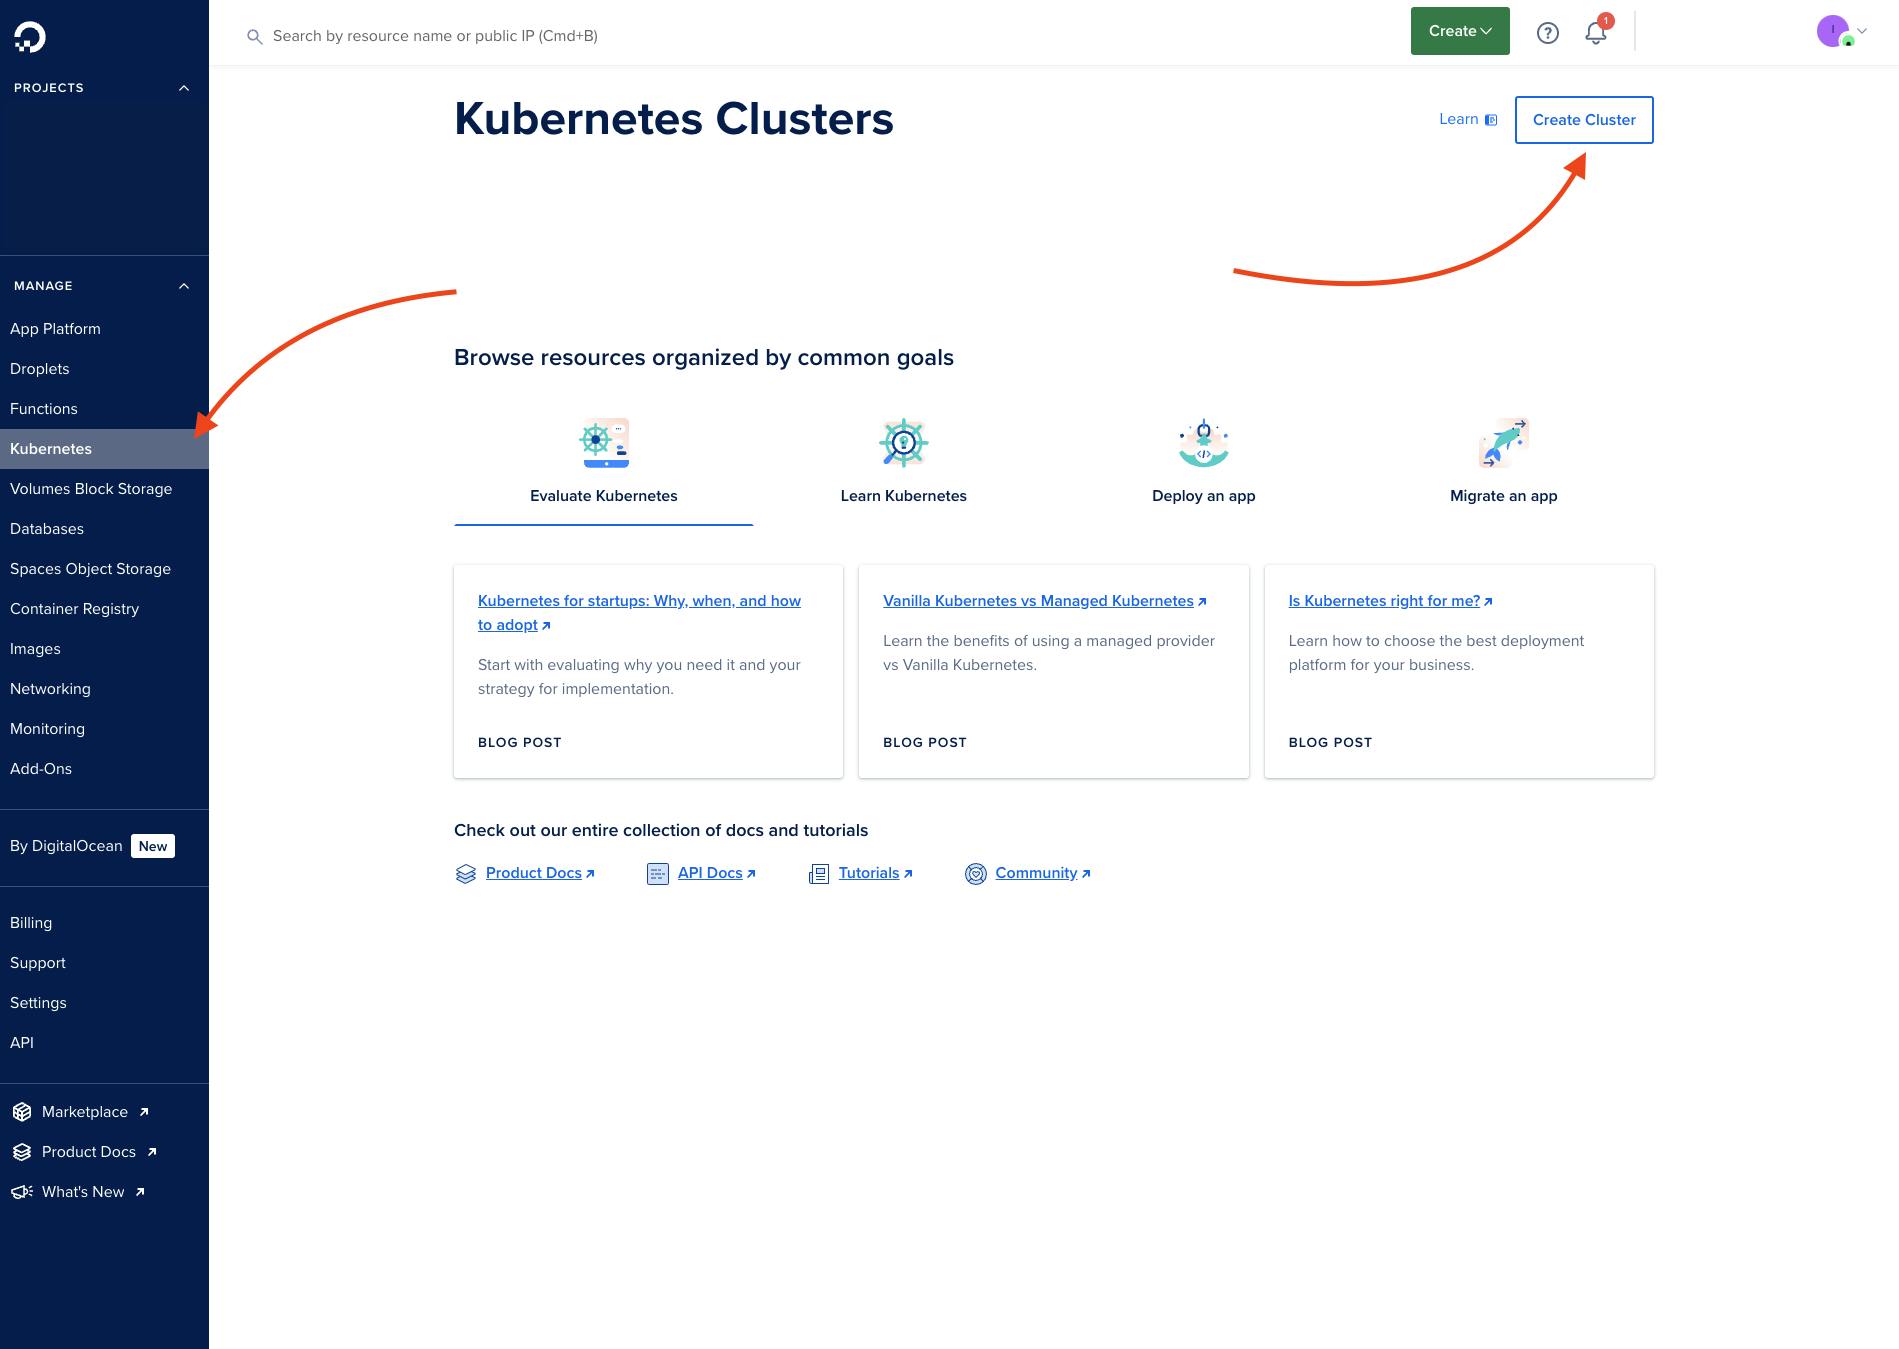
2. Create a Kubernetes Cluster
Navigate to the "Kubernetes" section in the DigitalOcean dashboard. Click on "Create," then "Kubernetes Cluster."

3. Choose a Kubernetes Version
Select the version of Kubernetes you want to deploy. DigitalOcean supports multiple versions, allowing you to choose based on your compatibility needs.

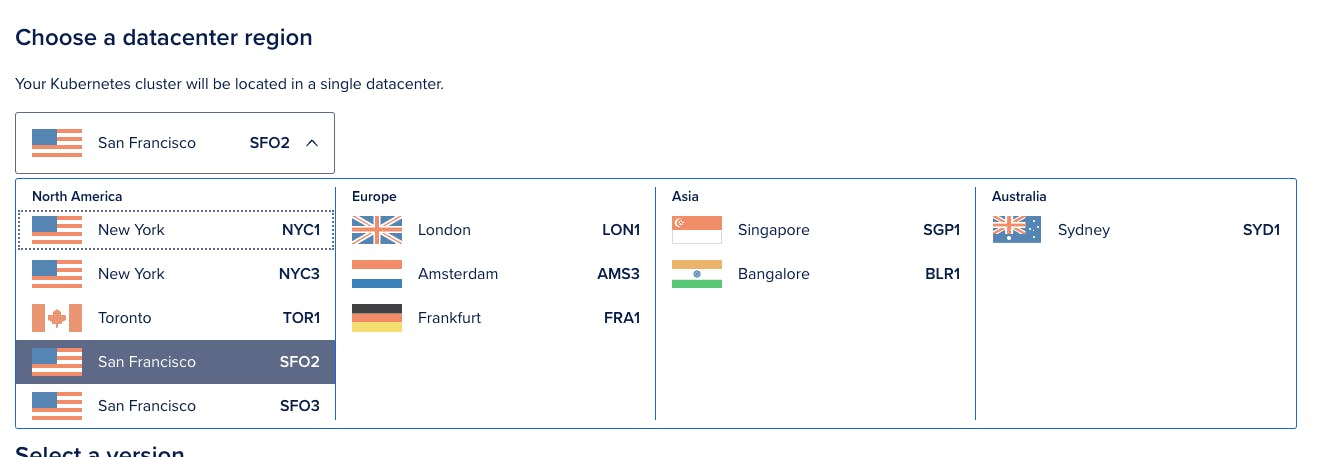
4. Select a Datacenter Region
Choose a datacenter region. It's best to select a region closest to your users to minimize latency.

5. Configure Node Pools
Node pools are groups of droplets acting as nodes in the Kubernetes cluster. You can configure the size and number of droplets based on your computing needs and budget.

6. Finalize and Create
Review your selections, and then click "Create Cluster." It takes a few minutes for the cluster to be provisioned and ready for use.
Pricing and Considerations
DigitalOcean's Kubernetes pricing is transparent and predictable, with costs primarily based on the resources you use (e.g., droplets in your node pools). You only pay for the droplets, and the Kubernetes management layer is offered at no additional cost.
Why We Choose DigitalOcean for Our Clients at Iglu
In my company, Iglu, we leverage DigitalOcean's robust infrastructure to manage applications for our clients, some of which cater to hundreds of thousands of users. We've found that DigitalOcean's blend of simplicity, performance, and cost efficiency aligns perfectly with our need to deliver reliable and scalable solutions.
Why You Should Consider DigitalOcean for Your Projects
I encourage you to explore DigitalOcean for your projects. Its straightforward pricing model, ease of use, and performance stand in favorable comparison to more complex offerings from AWS, GCP, and Azure. Whether you're a startup or managing large-scale applications, DigitalOcean's infrastructure services can accommodate your needs efficiently and cost-effectively. Sign up now to DigitalOcean and get $200 in free credits!
Stay tuned for more posts in this series where I'll dive deeper into DigitalOcean's array of products and services, helping you make informed decisions for your cloud infrastructure needs.
